Abstract

Dancing in the Grass

IMG_1402_3_4_fused

I taught an HDR class yesterday and took my students to the trolley museum in Colorado Springs. We had a great time, and this is my favorite shot from the day. This is the side of an old Denver Transit Company bus, and it’s a hand-held, 3-exposure image. I had to lend my tripod to one of my students, which gave me the opportunity to check out Photomatix’s feature for blending images not taken on a tripod. It looks like someone dancing in tall grass.

Blue Shadow

_MG_5027

This image was taken at the Pikes Peak Motor Company, which is a vintage-car junkyard and a very cool place.

I made basic adjustments, straightened the image and removed all color except blues and purples in Adobe Camera Raw. In Photoshop I used the Spot Healing Brush to remove some spots, then I added a curves adjustment layer.

Coming to You from the Surface of Mars

IMG_0146_7_8_fused

I know this looks like an aerial shot of the surface of Mars, but it’s not. It’s actually a close-up of a rock formation in Glen Eyrie. This is a 3-exposure HDR (+/-2 EV) image processesed in Photomatix.

After blending and tone mapping in Photomatix, I made basic adjustments with the Camera Raw filter and added a curves adjustment layer in Photoshop. I also added a hue/saturation adjustment layer to tone down the colors a bit.

Wet Valley Waves

IMG_9913_4_5_tonemapped

This shot was taken from the top of Music Pass in the Sangre de Cristo Mountains looking east onto the Wet Valley. I used a 55-250mm lens and took 3 three exposures at +/-2 EV for HDR blending.

The 3 photos were blended and tonemapped into a single image with Photomatix Pro 5.0. I then opened it in Photoshop where I added a curves adjustment layer and used the Spot Healing Brush to remove some unwanted items. I placed the underexposed frame behind this image and masked in the house at the top edge near the middle. I used the Camera Raw Filter and a hue/saturation adjustment layer to get the exposure and color I wanted.

Rusty

IMG_6154ab

This is a steel panel on the side of the Ajax Mine headframe in Victor Colorado. I was looking for interesting textures among the structures and think this image turned out well. I included the “before” shot on top so you can see how it was altered. I just sent this file to the printer to be entered into a show, so we’ll see how it turns out.

I saw a variety of colors in the original image and decided to experiment with some drastic edits in Adobe Camera Raw by making the following adjustments: Exposure -0.30, Contrast +100, Highlights -100, Shadows +100, Whites -100, Blacks -100, Clarity +100. Then I used the HSL tool to adjust the colors to the levels I liked. In Photoshop I used the Spot Healing Brush to remove some unwanted bright spots and added a curves adjustment layer.

I Have No Idea What to Title This Post

IMG_9615


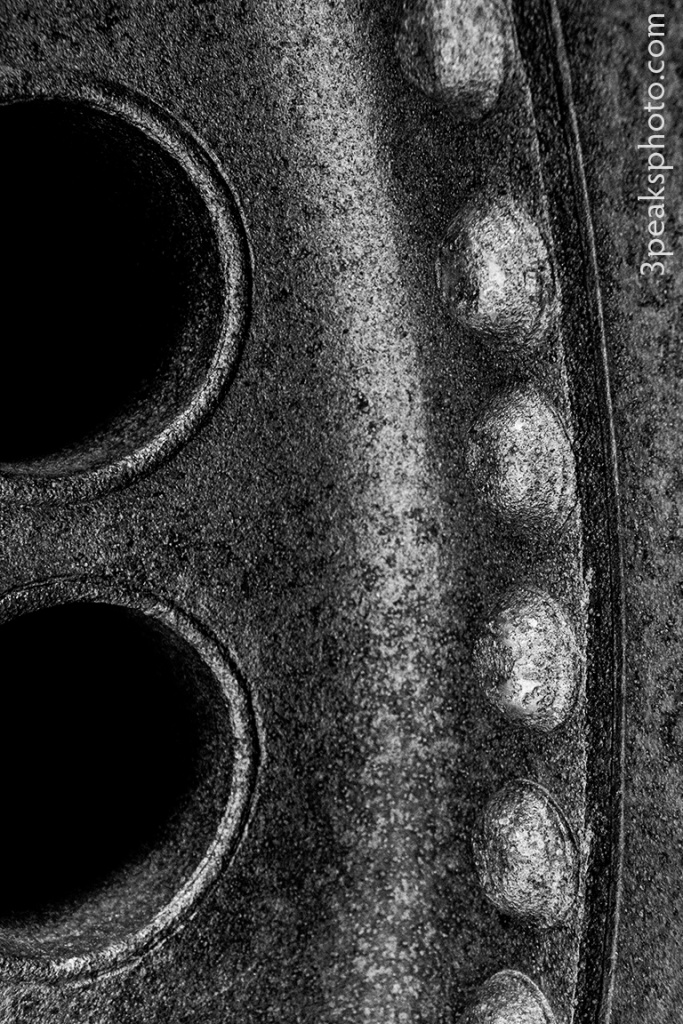
This is an abstract image of a detail on an old, rusty boiler left outside the Oil Creek Mine on Pikes Peak. Miners dug a tunnel into the side of the mountain in hopes of finding gold or silver, and they struck water. They had to stop digging, and the water coming out became a source for Manitou Springs or Colorado Springs. Water still flows here, and the tunnel is gated, but some of the equipment remains.

I always tell my photography students that when they have an image with uniform color they should convert it to black and white, which then allows the viewer to better see the textures, shadows and highlights. The color becomes a distraction, and the absence of it brings the photo to life. That is the case with this picture.

I went a little crazy with the clarity, shadows and contrast sliders in Adobe Camera Raw to bring out the texture in the rust. In Photoshop I used the Spot Healing Brush to remove some bright spots. I added curves and black & white adjustment layers before cropping.


My Eyes Have Seen You

IMG_5509_pod

I was in an Alfred Hitchcock kind of mood when I created this composite. It’s a combination of an abstract image taken at a junkyard and the portrait of a businessman.

In Adobe Camera Raw I made basic adjustments and adjusted the color with the HSL tool. In Photoshop I used masking to allow the eyes from the portrait to come through. I then selected one of the paint lines with the quick selection brush and placed it below each eye using the multiply blend mode.

Hitting the Fan

Hitting the Fan

This image was taken at the trolley museum in Colorado Springs while on a shoot with the Colorado Photography Learning Group. We had a great time, and the staff there is awesome.

As I was wandering around, I saw this fan on a rail car and thought it was interesting. As I was taking some shots for HDR, a breeze came by and rotated the fan. Inspired by a windmill photo one of my friends posted the other day, I decided to conduct a scientific experiment. I spun the fan and took a number of shots while it was rotating. And I would say the experiment was successful.

The resulting image is a blend of 7 photos in Photomatix. I used only the 0 EV and -3 EV exposures for merging since my first attempt to include all exposures resulted in an intense halo effect on the bottom where the screen is exposed to the brighter background.

After processing in Photomatix, I edited the image in Photoshop with hue/saturation and exposure adjustment layers. I turned down the highlights with the shadow/highlight tool and removed some bright spots in that lower section of the frame with the Clone Stamp.