Month: January 2015

Arianna

IMG_2541

This is Arianna. We had a lot of fun taking her senior portraits at the Broadmoor in Colorado Springs. I have so many great photos of her from this session that it was hard to choose just one to post.

I made basic adjustments in Adobe Camera Raw. In Photoshop I used the Spot Healing Brush to remove blemishes and stray hairs. I also used it to conceal the front of her blouse, which could be seen through her sweater. I brightened her eyes with the sponge and dodge tools and cropped.

Aspen Ridge

Untitled_Panorama1

This is a 4-shot panorama taken on Apen Ridge looking west toward the Collegiate Peaks. That’s Mt. Antero on the left and Mt. Princeton on the right.

I made basic adjustments in Adobe Camera Raw before using Photoshop’s Photomerge tool to stitch the files together. I then used the Camera Raw Filter to add gradients on the top and bottom and adjust the color. I added a curves adjustment layer.

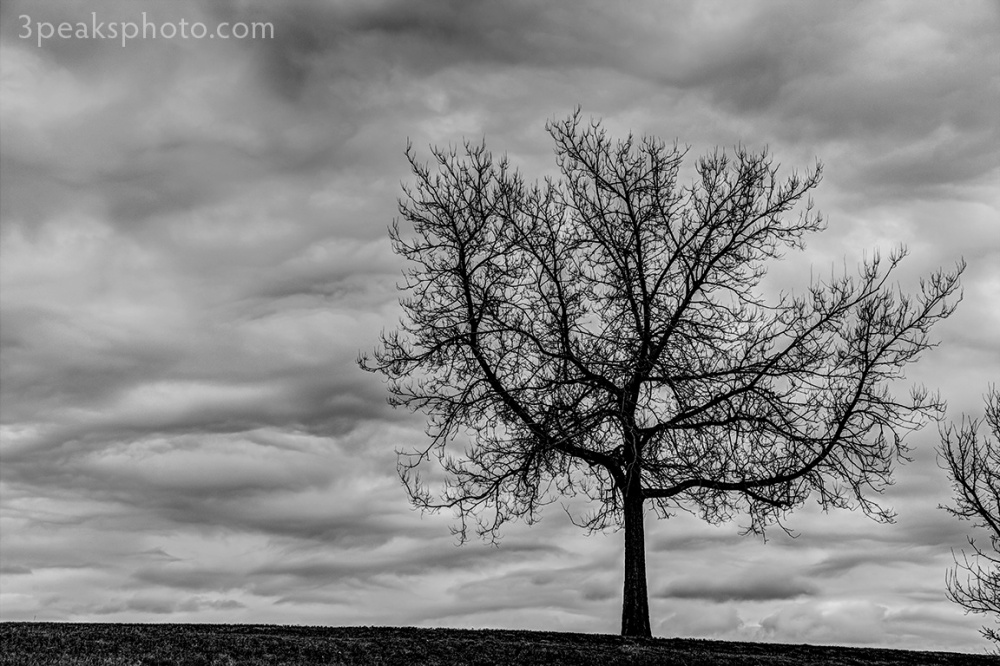
Cloudy with a Touch of HDR

IMG_7203_4_5_fused

It was cloudy today, so I decided to take advantage of that and shoot for HDR. This is a 3-exposure image (+/-2EV) blended and tone mapped with Photomatix Pro 5.0.

I am photographing this tree every day as a 365 project and am posting those pictures on my new blog here: https://sametreedifferentday.wordpress.com/

After blending in Photomatix I used the Camera Raw Filter to make basic adjustments, remove chromatic aberrations and reduce noise. I added curves and black & white adjustment layers in Photoshop.

Windy Sunrise

IMG_7126

This is a composite image that is the result of blending five photos together.

For each file I made basic adjustments andreduced noise and chromatic aberrations in Adobe Camera Raw before opening them as layers in Photoshop. I aligned all of the layers and then changed the blending mode of each of them except the bottom one to “lighten.” Using the lighten mode allows only the brightest portions of the layers below to show through. I also added curves and hue/saturation adjustent layers.

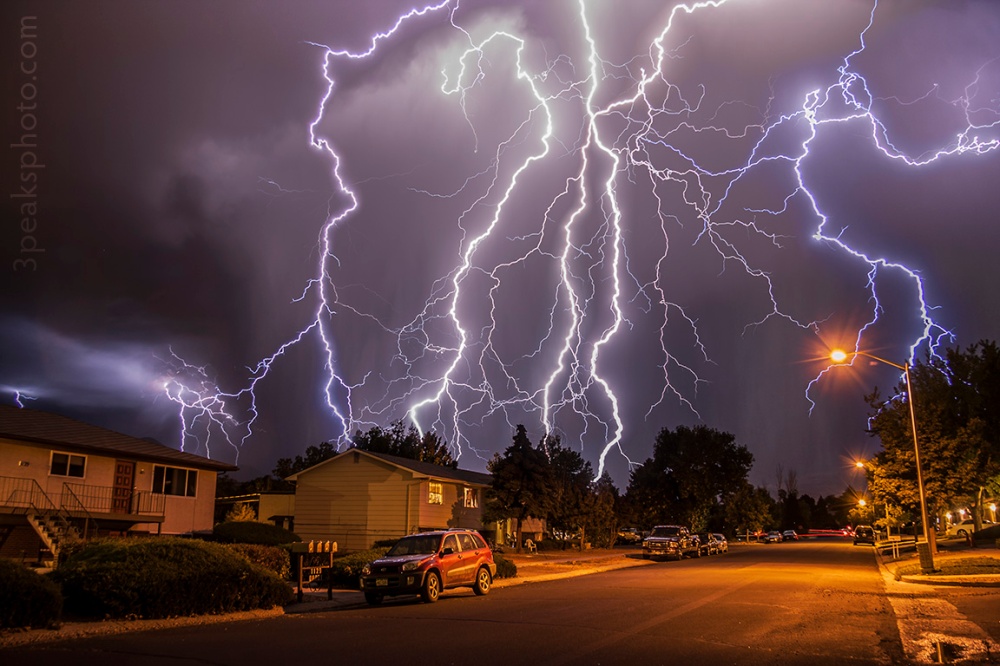
Give Me Shelter from the Storm

lightning

This is a composite image that is the result of blending five photos together.

For each file I made basic adjustments and reduced noise and chromatic aberrations in Adobe Camera Raw before opening them as layers in Photoshop. I aligned all of the layers and then changed the blending mode of each of them except the bottom one to “lighten.” Using the lighten mode allows only the brightest portions of the layers below to show through. I also added curves and hue/saturation adjustment layers.

CRUNCH!!!

IMG_1908

This is Cherokee from the Rocky Mountain Wildlife Foundation in Guffey, CO enjoying a little snack. And yes, that is a horse leg she is chewing on.

I made basic adjustments in Adobe Camera Raw. In Photoshop I used the Spot Healing Brush to remove some unwanted artifacts and added more color to her eyes with the sponge tool. I removed the blue tone that resulted from her being in the shade with a hue/saturation adjustment layer. I also added a curves adjustent layer.

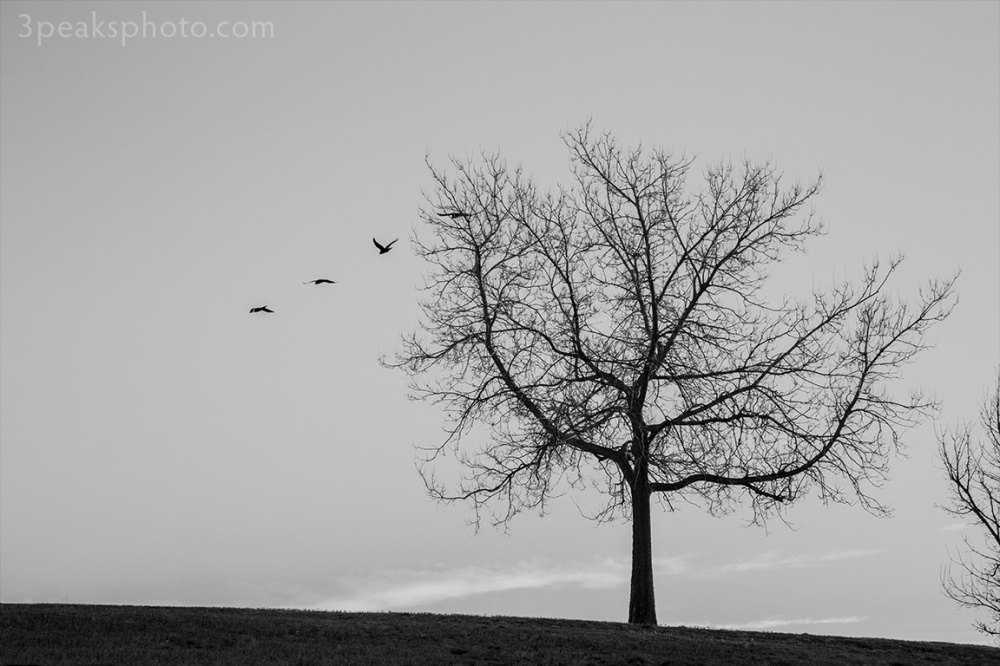
As the Crow Flies

crow_stack

This isn’t 4 crows, it’s actually 1 crow, and I blended 4 images of it together in Photoshop. After I made basic adjustments, reduced noise and chromatic aberrations, I opened the files as layers from Bridge into Photoshop. I selected all of the layers and aligned them and then stacked them. The stacking process only adds things that are different between the layers.

Unexpected Sunset

Pikes_Peak_Panorama

This is a 5-shot panorama of tonight’s sunset. It was overcast all day until the sun went down, so I didn’t expect colors like this. I ran to the top of the hill behind my house and shot over the tops of the buildings.

I stitched the files together in Photoshop with the Photomerge function in reposition mode. After stitching I used the Camera Raw Filter to make basic adjustments and remove chromatic aberrations. I removed some spots in the sky with the Spot Healing Brush and added a curves adjustment layer.

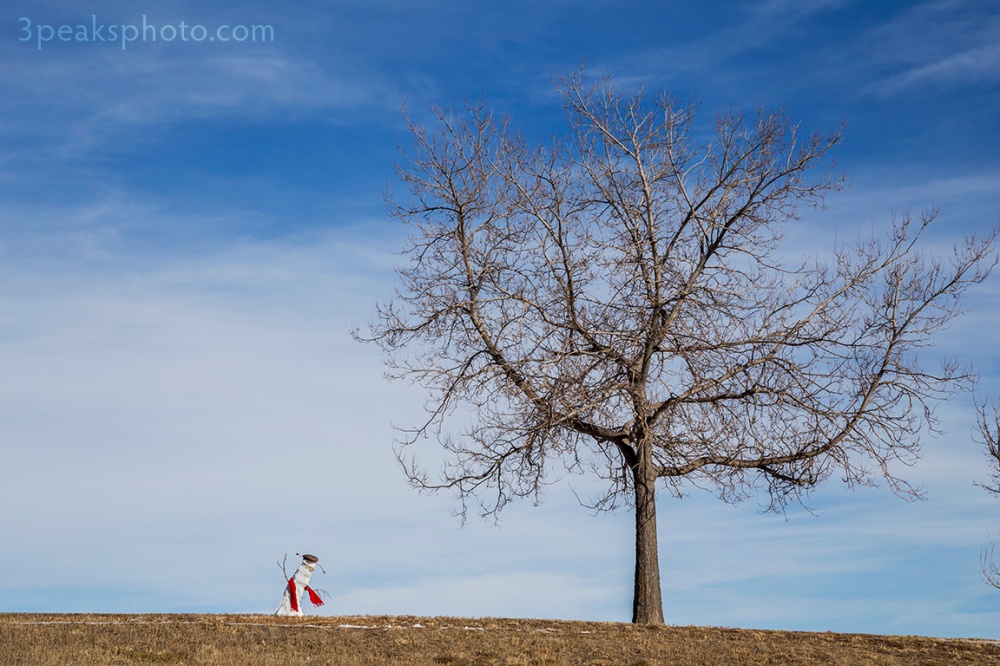
The Last Moments of the Snowman

IMG_6683

Here’s another installment from my Same Tree, Different Day blog. Yesterday I recruited a neighbor and her grandson to build a snowman. I had to get another photo of him before he melted, so I dressed him up real good. He fell over shortly after this image was taken.

I made basic adjustments and removed chromatic aberrations in Adobe Camera Raw. In Photoshop I used the Spot Healing Brush to remove some spots in the sky and reduced highlights on him with the burn tool. I added a curves adjustment layer.